App Authentication (OAuth)
Here's how to authenticate your app against a Fera account using OAuth
App OAuth authentication is for Fera Partners to create app integrations with the Fera platform. If you're not a partner, you should use API Key Authentication instead.
Fera Apps use the OAuth2 authentication protocol with the following attributes:
- Authorization URL is
https://app.fera.ai/oauth/authorize. - Token URL is
https://app.fera.ai/oauth/token. - Token revocation URL is
https://app.fera.ai/oauth/revoke. (see Revoke App Authentication)
Once you receive an access token (AKA "auth_token") you can access the API by including your auth token as the Authorization "Bearer" header.
App Setup
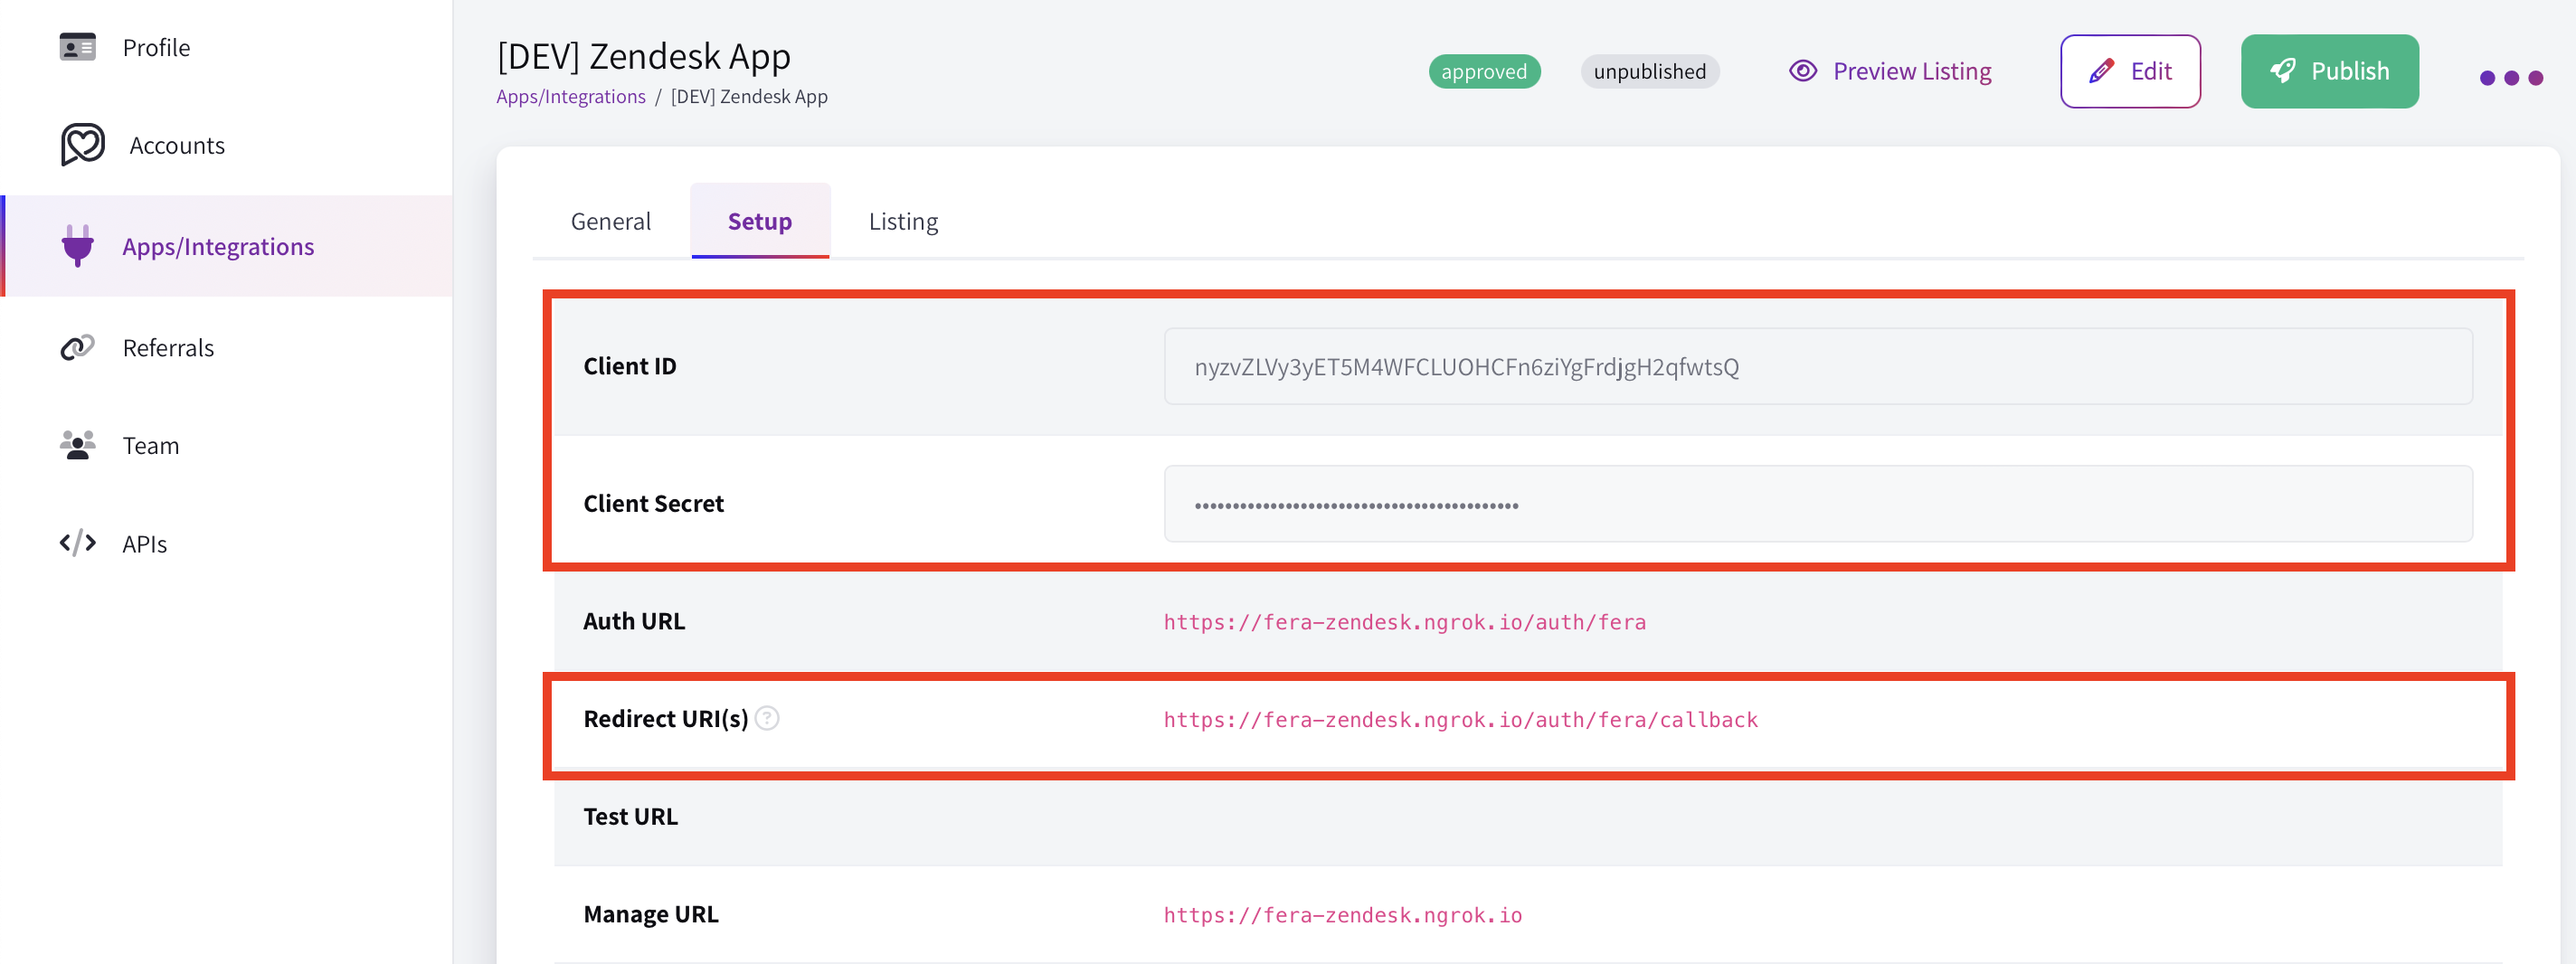
To get started, log into the Fera Partner Portal and create a new app.

You set the redirect URI, but the Client ID and Client Secret are generated automatically for you.
Once you've created your app you'll get a Client ID and Client Secret. Use those keys to follow a standard OAuth2 flow.
Never give out your Client Secret.Your Client Secret is used to encrypt communications and data between your server and Fera's server. Keep it hidden, out of your code base and never reveal it to anyone outside your organization.
Example OAuth2 Flow
1. Authorize
curl 'https://app.fera.ai/oauth/authorize?response_type=code&client_id=YOUR_CLIENT_ID&scope=read+write&redirect_uri=YOUR_APP_REDIRECT_URI&state=SOME_RANDOM_STRING'auth_request = HTTParty.get("https://app.fera.ai/oauth/authorize?response_type=code&client_id=YOUR_CLIENT_ID&scope=read+write&redirect_uri=YOUR_APP_REDIRECT_URI&state=SOME_RANDOM_STRING")Authorization Parameters:
client_id*: The Client ID that you had got from the developer portal.scope*: "permissions" the app requires for completing the authorization flow. More about this in OAuth2 Scopes. Valid scopes are:readandwrite.redirect_uri*: Where to redirect (on the app's back-end) after the app is authorized in order to get the tokens. This must match what you configured in the app settingsstate*: Random string, protecting against CSRF attacks.store: (optional) Store domain or ID you want to authorize. Example:megans-cupcakes.myshopify.com
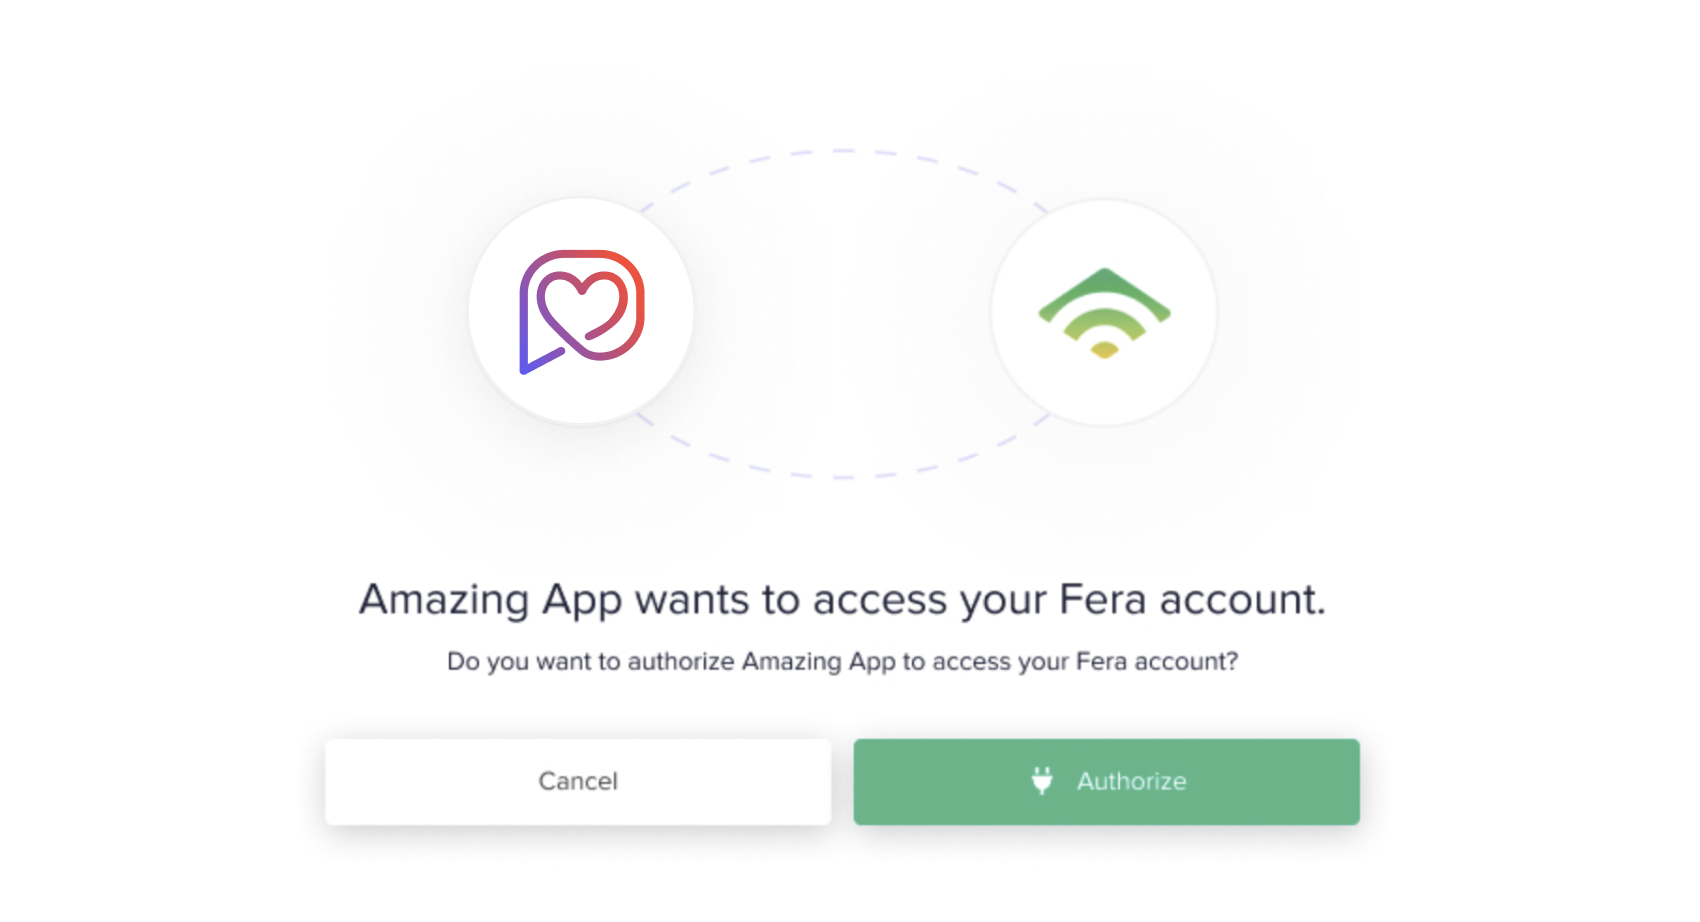
If done properly this will redirect the user to a page that looks like this:

App authorization screen
2. Access/Auth Token
If the user clicks the authorize button they'll be sent to your redirect URI with the following parameters in the URL:
- code: You'll use this to generate the access token
- state: It's your job to verify that this matches the state variable you set in the initial authorization request.
Now it's time to request an auth token:
curl -u YOUR_CLIENT_ID:YOUR_CLIENT_SECRET -X POST https://app.fera.ai/oauth/token \
  -d grant_type=authorization_code \
  -d redirect_uri="YOUR_REDIRCT_URI" \
  -d code=THE_CODE_YOU_GOT_IN_PREVIOUS_STEP
You'll get a response that looks like this:
{
    "access_token":"YOUR_AUTH_TOKEN",
    "scope":"read write",
    "token_type":"Bearer"
}
Now just save that YOUR_AUTH_TOKEN because you're done the hard part!
No refresh token neededAuth tokens don't expire so there is no refresh token. We decided to go for "simplicity" by omitting this step, but it means we're trusting you to keep the auth token safe and secure!
3. Test API Request
Use the YOUR_AUTH_TOKEN value you got in the previous step like this to make requests to the API:
curl --request GET --url https://api.fera.ai/v3/private/reviews --header 'Authorization: Bearer YOUR_AUTH_TOKEN'You can skip these steps for Fera accounts/stores you manage by using the Test Install feature.
Updated 12 months ago